Wednesday, November 26, 2014

Lab 13 - Cloning


In lab 13, we had to make a image or text clone if someone clicks on it. I did a image and choose Nemo from finding Nemo because I think it will be a cute idea idea to do that. I wrote on the top, "Click on Nemo so, he have more fishes to travel with while going home!." Attaching the jQuery file was important to make this lab work.

This lab would be useful to me in my future labs/projects because if I want something to clone like text again and again in my website, I can use this coding. This is another step for using jQuery and I have more knowledge of it.

The following code on the right is the javascript that I used to make Nemo clone. It basically says if someone clicks Nemo, clone it inside the <body> field. 


                                                            My HTML coding

Lab 12

In lab 12, we had to pick a subject and create a mini quiz that we could later use to study. We had to make the answers slide down when a user puts the mouse arrow on top of the question. I choose geometry and added 5 questions. To make this lab work, the first step was to attach our jQuery file.  For the questions, I used the tag<dt> Question </dt> and for the answers, I used the tag <dd> Answer </dd>.                                                                                                                                                                     
Javscript was another major step of doing this step. As you can see in the image on the right is the javascript coding I used to make my lab work. The code is basically telling to hide <dd> which are the answers of the questions and slide down the answer if a person puts their mouse arrow on top of the question. 


My HTML coding

I can use what I learned in lab 12 in my future projects to organize my text and make it easier for the user to use my website. In addition, I can use it if I don't want to give a answer and let the user think and when they are ready, they can see if they were right or not. This lab is also a great way to review for geometry because it has the most important things to remember for a test or the regents.


Monday, November 24, 2014

Lab 11- Day & Night

In lab 11, we had to change the content of an HTML page by using jQuery for the first time. The first step of this lab was to attach our jQuery file to it otherwise, it wouldn't work. The "day" button is for a sunny background while, the "night" button is for a dark background and the reset button changes the background to the                                                                                 original background of the page.
Day:

For the "day" button I used the coding, "<input type="button" onclick="day();" value="Day" />", I named the button "Day" and a user can click it. I added javscript to it, "function day() { body.className = "lightSwitch";" I named the day function lightSwitch. Inside, my CSS coding, I added the image I wanted it to go to when the user clicks the day button using, ".lightSwitch { background-image: url("sunny.jpg"); }" and as you can see, the function name is "lightSwitch" to tell the CSS code which function I want this image to go to.

                                                          Night:


I did the same coding to create the "night" button but instead of naming the function "lightSwitch", I named it "darkSwitch" and I added a darker image inside my CSS coding.
My HTML coding:

This lab taught me how to change the background with a click of a button using jQuery. I can use this in my future work to let a user choose which background they want to see. This is a very useful tool because you can add not 1 background but 2 or more and you can do so much with creating different buttons.
My CSS coding:

Tuesday, November 18, 2014

Lab 10: 10 Forms


In lab 10, we had to create 10 forms using javascript. We had to make a separate receiver html page so, when the person clicks "send" button, it will say I have received your message. The "clear" form button clears all the information typed by the user. However, a person can't send me unless the user have typed in a password. For forms 1-3, the user only had to type in 1 password. However, through forms 4-8, the user have to type in two similar password. If the passwords doesn't match, it wouldn't let the user go to the receiver page. For forms 9-10, we had to create a destination form, where the user can decide which page they want to go.


Doing form 1 was the most easiest form to do out of all the 10 forms. As you can see on the bottom, my html/javascript coding for form 1. I told javascript, if someone did't type in a password, turn false and tell the user "Password field must be supplied." But, if a user did type in a password, return true and go to the receiver page which I linked in my html coding. Doing all the other forms was some what similar but adding a little bit more to it.


Form 1 Coding:

HTML

JavaScript


My HTML Coding

 This lab helped me learned how to create different kinds of forms. Now, I can create a form with 1 or more passwords and doesn't let the user go forward until all the information is filled. I can use it in my           future labs/projects.                                                            

                                             
My JAVASCRIPT coding  


Friday, November 14, 2014

Project 1: Sarcastic Website Results


For project 1, I created a sarcastic website about how college is "useless". Basically, it was about how colleges put too much stress on students and you can end up with a lot loans. I choose this topic because a lot of people don't take college seriously so, I wanted to show that college is one of the most important steps in your life and without a college degree, you could be basically be jobless. In addition, since we are all also going to college soon, I thought this would be a fun topic to do.
                              
In my sitemap, I added that I was going to create 4 pages for my website. The 4 pages would include a home page, Q/A, about us, and a donate us page and I would use HTML, CSS, and JavaScript to do my project.


                                                      The Results :

In my wireframe, I added a slideshow where the user could decide what image they want to view but I ended up changing that. Instead, I added a slideshow that displays the images by itself using CSS because I think it looked more professional on the website.


As you can see, I used my wireframes to make my website. I did't made that many changes however, I did ended up changing the layout of my pages. Instead of having buttons on the top, I ended up putting them on the side. In addition, I kept my layout black since, its a sarcastic website.


Tuesday, November 4, 2014

STEM Matters NYC Career Day

Session One: Tourneau

For the stem career day, I went to two sessions, Tourneau and NYC Department of Environmental Protection. Tourneau is a famous watch company. We got to see how the watches are made from the outside and the inside. They use machines to wash the equipment's and then, later start repairing them. After repairing them, they shine the watches so, when their customers get it back, it looks brand new. It was a fun experience because I got to see step by step how a watch is made. I never knew it had so many challenging steps.


The red box is used to hear the ticking of a watch also, the "heart" beat of it.


The machines they use to wash the equipment's before actually building a watch .


Tourneau update their machines. The small black one on the top is the oldest where you have to clean the equipment by yourself. The blue ones cleans by itself however, the big grey one is the newest.


They clean the watches using these machines, they get hot very easily. After rubbing a watch on top of the spinning wheel, it will look brand new.


This is the office where they make sure the equipment is organized and you can see the view of the workers in the back.


                                   Session Two: NYC Department of Environmental Protection 

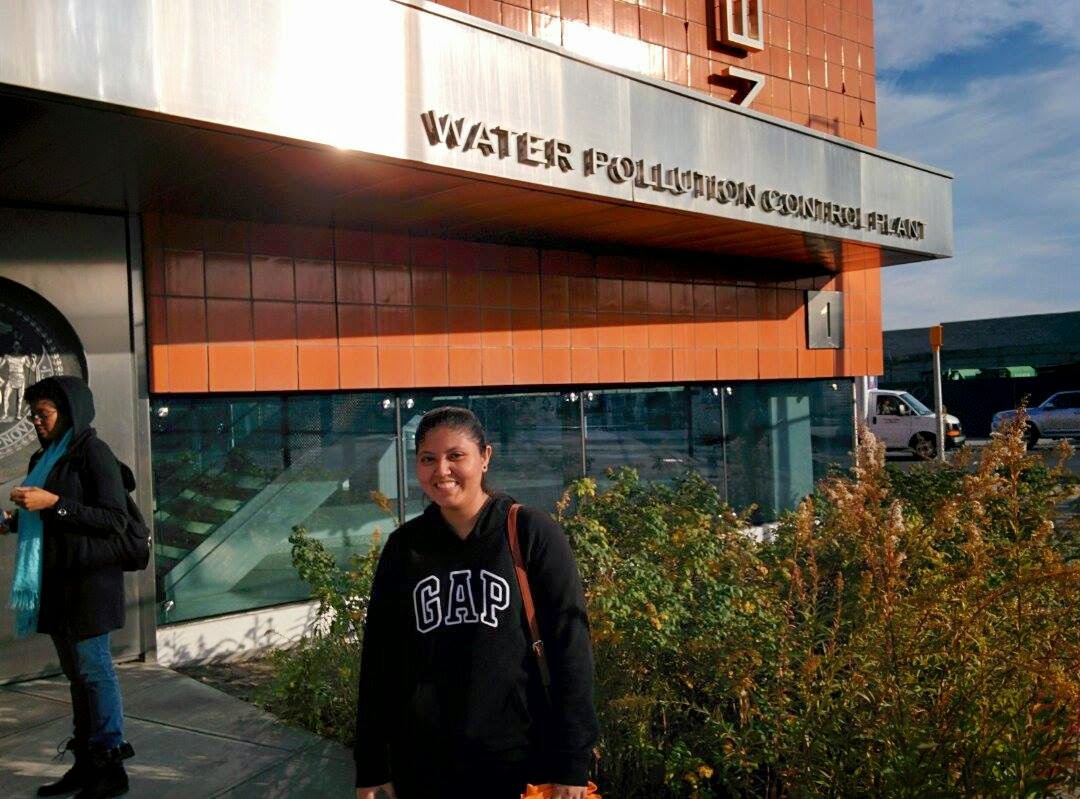
NYC Department of Environmental Protection is a company that supplys water to New Yorkers. The DEP employees have different jobs to look after the water supply such as checking the wastewater treatment, harbor water quality, etc. It was a fun experience because I did't knew how hard they work to make sure we get healthy clean water to use. My overall career day experience was so much fun because I got introduced to fields I did't knew would interest me. Thank you so much, Ms. Ramirez for giving me a great opportunity to go to and experience the
different fields.


This is in the entrance of their building, it was switched off but water usually flowed there.


We got introduced to the different fields in environmental science and how they worked to make sure the water supply was safe to use. They did many projects to make New York is an environmental place and think of new ideas to improve their system.


Saturday, November 1, 2014

Career Day Reflection Journal


On October 17th, we had the 2014 ITHS CTE Career and College Fair and it was a very great experience. We got introduced to different colleges and got to learn some things about them. I really liked how there were different kinds of colleges present at the event such as a community college, marines, etc. One of my favorite experience throughout the fair was the speeches given by the representatives because they gave great advises for our future.

 Later, we were given some time, to go around and ask questions that we might have. I learned about the different programs each college offered. The representatives was so nice to answer our college related questions and help us with our college process. My overall experience was great because I got to learn about new opportunities and received great advice that I can carry with me
                                                                                        through my college process.